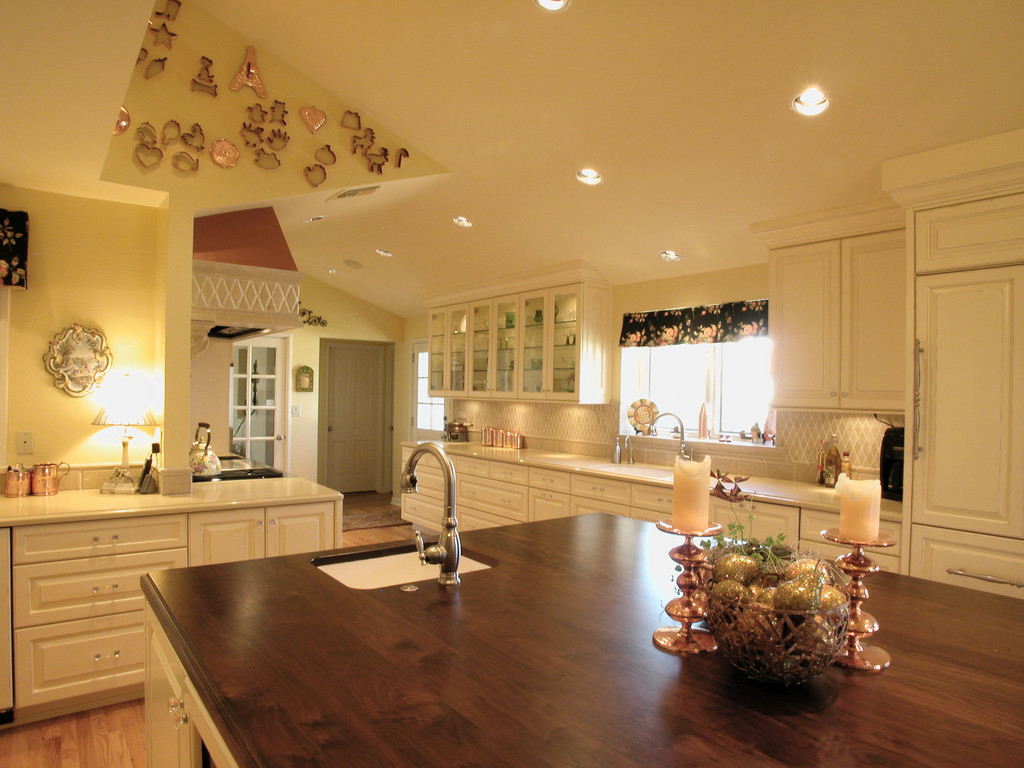
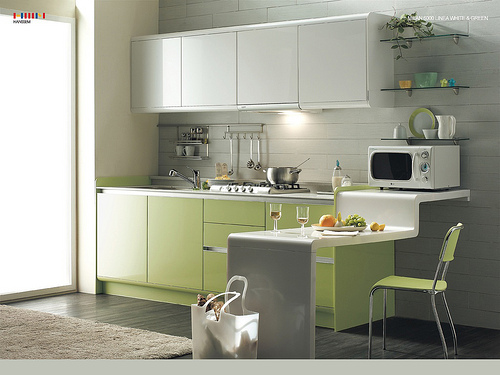
Modern kitchens are furnished with cabinets. Without a cabinet, a kitchen looks incomplete and backdated. Not only for looking, but also for other benefits, a cabinet is a must have for a kitchen. For this reason, nobody who loves to cook can not imagine a kitchen without having a kitchen in it. But like all the other perishable things in the world, kitchen cabinet is prone to damage due to physical wear and tear. To stop losing its beauty, you have to paint it time to time.
This article is all about how you can paint your kitchen cabinet in the best possible way.
Know more about kitchen cabinet.
Essential Supplies for Painting
To paint your kitchen cabinet, you will have to manage the following things –
- Screwdriver.
- Painter’s tape.
- Sawhorse.
- Cleaner.
- Tack Cloth.
- Denatured Alcohol.
- Sandpaper.
- Cloth or Newspaper.
- Wood Filler (Putty).
- Putty Knife.
- Primer.
- Foam brush.
- Foam roller.
- Paint Sprayer.
- Latex Paint.
Painting Procedures for Kitchen Cabinet
To paint your kitchen cabinet, you will have to take the following steps.
Step 1. Wipe The Surface
Kitchen is the place of using too much water and for this reason you will have to wipe it first of all as to ensure there is no water on the surface.
Step 2. Remove All The parts from The Cabinet’s Body
If you want to paint in a better way, you will have to remove all the parts from the body of the kitchen cabinet. To remove well, use a screw driver for unscrewing the screws used in the hinges and in the pulls (if there is any). Keep all the hardware in a memorable place so that when it is in need, you may find it easily.
Step 3. Mark the Previous Place With Tape
This is to be done to ensure that when you will reinstall the cabinet after painting, there is no displacement from the previous location.
Step 4. Use Some Sawhorses
Sawhorses can make some comfortable feel while during painting. It is mainly used to keep the cabinet’s different parts on it. So you should use at least one sawhorse to place the cabinet on it.
Step 5. Wash The Kitchen Cabinet With Cleaner
Use some cleaner to clean the cabinet’s surface. As a cleaner, you can use TSP with water. Take half cup of TSP and mix it with 2 gallons of water. There is another powerful cleaner called denatured alcohol which can also be used as cleaning substance.
Take some amount of any of the cleaners and scrub it gently with a tack cloth.
Step 6. Sanding and Filling
Wood is often prone to having pores over time. If your cabinet’s wood has pores then you will have to use wood filler with a putty knife. If the kitchen cabinet is laminate made, then there is no need to use any wood filler.
After filling up, sand the surface of the cabinet with a 220 grit sandpaper.
Step 7. Prime Well
Before the final paintings, primer is done on the surface of the cabinet. Primer is coating layered on the surface. Primer can be completed with a foam brush, foam roller or paint sprayer. It is the wisest decision to prime with a good branded paint sprayer for the best result of painting.
After every primer, there should be 24 hours left for drying it up well as there might be more than one priming needed for paintings.
Step 8. Paint Properly
Now the final part of painting comes. For the best painting result, choose a good paint sprayer too for this purpose. You can use brush for painting, but this should be ignored as a paint sprayer is the best for painting.
Choose your preferable color for the kitchen cabinet. Check the color swatches to get the best color feel for the task. It is recommended that you select latex color for the painting.
After picking up the preferable color, fill the paint sprayer with the color. After that hold the sprayer properly keeping some distance between this and the cabinet. Spray properly with the same exposure and same pattern.
Once you have finished painting, leave the cabinet’s body and other parts in a ventilated place for a few days. It is not a good idea to move the cabinet to a new place after painting, so you should use the same place for both the painting and the drying up.
After you have become sure that the cabinet dries up completely, you can go for reinstalling it.
Step 9. Attach All the Parts & Reinstall
Now rejoin all the segregated parts of the cabinet. If the old hardware is okay for reuse, then use it, otherwise replace it with new hardware. All the screws should be screwed tightly. Use round headed screws in the outer side of the hinges and use flat headed screws in the inner side of these.
Check the doors and the drawer whether they open and close smoothly. If you find any problem in operating the doors and the drawers, then first look at the small corners for any dried up color or primer. Sometimes these become congested and cause problem to opening and closing the doors and the drawers.
After attaching all the parts together properly, now it is time to reinstall it in the previous location. Follow the marked tape and reinstall the cabinet at the right place. Check here again if the doors and the drawers open or close well.
After painting, it is very common to have tough smell of the color and other materials used for paintings. So you should use some air fresheners quite often for the first few days after installing the cabinet in the kitchen.
Some Health Tips
- Don’t go for painting without a mask.
- Don’t paint in an airtight place.
- Don’t take the cleaner’s and paint’s smell directly for a long time.
- Use a pair of hand gloves to protect your hands’ skin.
This is the ultimate guideline to paint well of your kitchen cabinet. You can follow this to have a better result.


