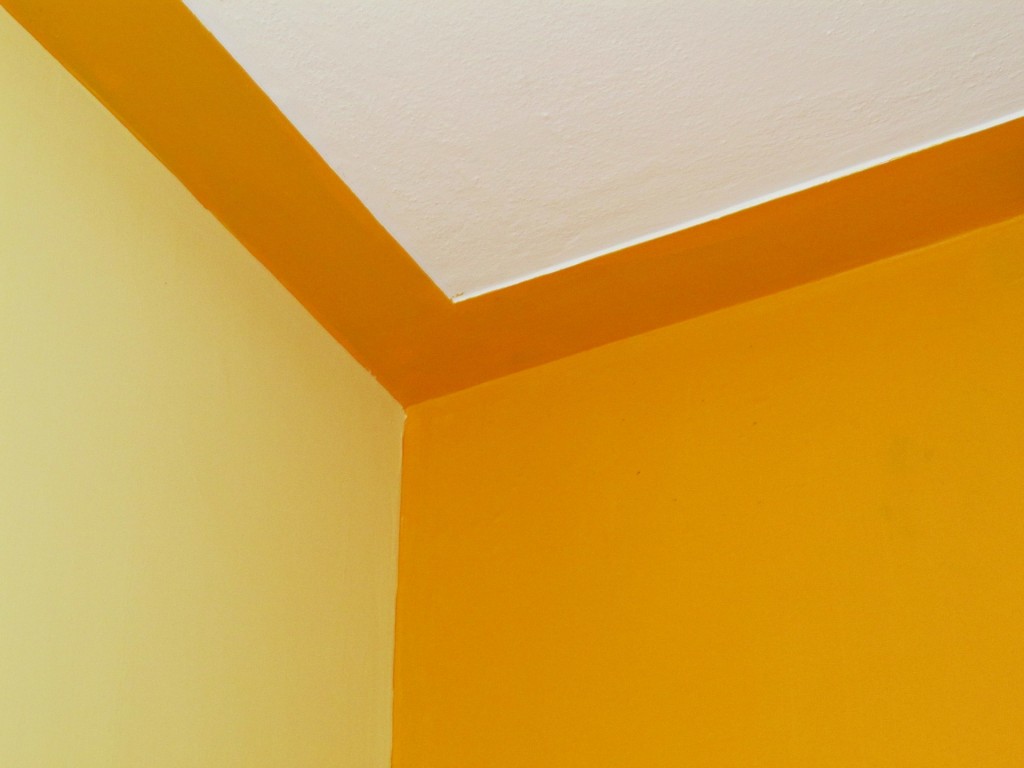
How many of you find it difficult to paint a ceiling??Painting actually is not a difficult skill, it does not require any special talent and it isn’t an exception. Basically paints are made up of solvent, pigment and binder. Solvent is responsible for thinning of paint. Pigment gives color to paint. Binder as per its name, binds the pigment together and supports the spreading of color over any surface.
As discussed earlier, painting is not a difficult task if your follow some guidelines, let us take a look at it stepwise:
[1] Choosing color
Painting is surely not a difficult task but selecting color can surely be a difficult task. With varied choices available, you will always be confused, when it comes to me, I see as less color as possible, the more you see, the more you confuse.
You can start with deciding a theme, which base color do you want, and then you can prepare your palette of color. Adding shades of similar color will create a depth and will look interesting.
Coming to our main topic regarding ceiling, colors of ceiling are mostly light in shade, almost resembling to white shades. The main reason behind lighter shades is to avoid a room being dark, using lighter shades will reduce your electricity bills as you will need less or no lights during the day, also it gives a simple but classy look to your room.
Earlier, paint was only applied to change the appearance of a room, but with changing time and technology, paint also plays an important role in stain resistance, spatter resistance and excellent hiding ability.
So choose you color properly and once you are done with it, the difficult part is over.
[2] Type of paint to be used
Normally, ceilings are often ignored or given less importance as compared to walls. People concentrate more on decorating or texturing walls, often ignoring ceilings. Ceilings should not be ignored as it can be used to make your room look bigger and intimate. Your room area would seem large if ceilings are of lighter shade and would look small if you choose darker shades.
If you are looking for a cost effective solution then repainting your ceiling is a very good option. Your room would still look new without repainting your walls or refurnishing your room.
Painting your ceiling becomes a difficult task if it is too high but this is not an issue in household, ceilings are not high. Few things to be kept in mind are:
• Color which best suites your room.
• Surface of your ceiling.
• Ways to enhance your ceiling by borders.
• Materials needed for painting.
Ceiling paints are different as compared to wall paints. Paints used for ceilings are thick. Ceiling surfaces are uneven sometimes, so to cover this unevenness, as well as cover up watermark and stains, thicker paint is used.
A point to be noticed here is that a paint which is used for wall can surely be used on ceiling but vice-versa is not possible, paint used on ceiling should not be used on wall as it will not produce durable results.
Clean finish is a must for ceiling; paint should also be of good quality which has good adhesive qualities so as to avoid peeling. Peeling commonly occurs due to moisture, especially in old buildings. Another ill effect of moisture in walls is that your wall becomes a conductor of electricity and there are high chances of getting electric shock when there is a short circuit.
[3] Knowing your surface:
Knowing the surface of your ceiling is very important. There are different types of surfaces, but mainly there are 2 types, textured surface and plain surface. Textured ceiling is commonly known as popcorn ceiling and people normally hire a professional for painting textured ceiling as spray materials have to be used. Ceilings are drywall too, touch up is required in such ceilings, and contractor is hired for it, to make the ceiling surface even.
So knowing your surface will definitely clear your doubts, if you can really paint your ceiling or not.
[4] Preparations
You need to do some preparations before painting your ceiling, to ensure a smooth layer of paint, an extension pole and a thick-nap roller is a must. While painting, you always need to take care about bubbles. Avoiding bubbles is a must, as once you start painting and if there are any bubbles, than these bubbles will permanently be there on your ceiling.
Other than all these, you need additional stuff which is as per your requirement and ceiling; mostly you will need a ladder, a wall brush for edges, and putty knife for holes. You will also need a liner and a paint tray, as well as caulking gun for covering up the unexpected cracks.
Once you have managed to get all these things and also selected your ceiling color, the next task is to clear up the area. Everything which is under the ceiling to be painted has to be moved. If you can move your furniture than it is the best option, but if your furniture is way too heavy or you have space limitations, then you can cover up your furniture and other things with plastic.
Plastic is suggested for furniture only, if you use plastic on floor then it won’t last long as you will be constantly shifting, which will lead to cracks in plastic and it won’t protect your floor then. A thick cloth should be preferred rather than plastic.
Professionals use tapes to mark the ceiling before they start painting it, thus creating a boundary and avoiding edge related issues. Using primer before applying paint would be a smart choice, it will absorb the paint and you will only need a single coat of paint if primer has been applied.
[5] Painting
Are you ready to paint?? Let’s start then. First of all you need to take care of the edges, as discussed earlier, you should use a tape for fixing a boundary, else the other option is to use an angled brush which cuts along the edge. Like the way you used to color in your school days, mark the outside boundary with paint, only then work inside.
Start painting the inside part as soon as you paint the boundary, as it will help avoiding formation of clear line between the edge and ceiling center. Do not apply too much pressure anywhere while painting, pressure should be even, using zigzag formations is a good idea while painting inside.
Mix up the sections which you have created, these sections will initially look uneven but do not worry about it. Once you have mixed up the zigzag sections, paint the sections in straight lines, this will now cover up the uneven effect which was previously being shown.
What is the next step??
The next step is to look and admire your wall. If you are still not satisfied then it means there must be some uneven surface which you need to look up to. Once you locate such a surface, you have to do some repairing or re-touching, this will surely solve your issues. In case, if still the matter is not being solved, then it only means that your surface is uneven and you need to hire a contractor if you want it to be even.
How to deal with Edges
According to a painter, an edge is a place where two walls meet. Some people find it difficult when it comes to edges. You don’t want your color to go out of that specific edge and also it should not be splattering. People often find edges as the most tedious task.
Using a good quality brush and maintaining is a must for edges. Good brush here just does not only mean good quality of brush, but it also should be properly be maintained in such a way that when you apply paint over the edge, it should paint as if like using a sharp edge pencil. Small and thin brushes will definitely give accurate results.
To paint the edge in a straight line is also a challenge. Usually when you are painting the edge, you are very much near to ceiling, from that point of view, you may find many problems with that edge you just painted, but when you get down from the ladder and see it from the normal distance, it would almost look perfect.
Another way to deal with edge is by applying a tape on the edge. This tape should be pressed hard so that there is no gap between the edge and tape. Now dip half brush in paint, so that your brush is not over-saturated. Now you can start painting with pressing your brush straight towards the ceiling so as to provide sharp edge without splattering.
Now color along with this edge and with your sharp brush and then peel-off tape. What remains behind is a masterpiece by you, which you can stand and admire as much as you want.
So it’s time to produce a masterpiece by you, be colorful, be creative and live in your own new world, your home colorful home.
Incoming search terms:
- как покрасить потолок чтобы увеличить высоту


