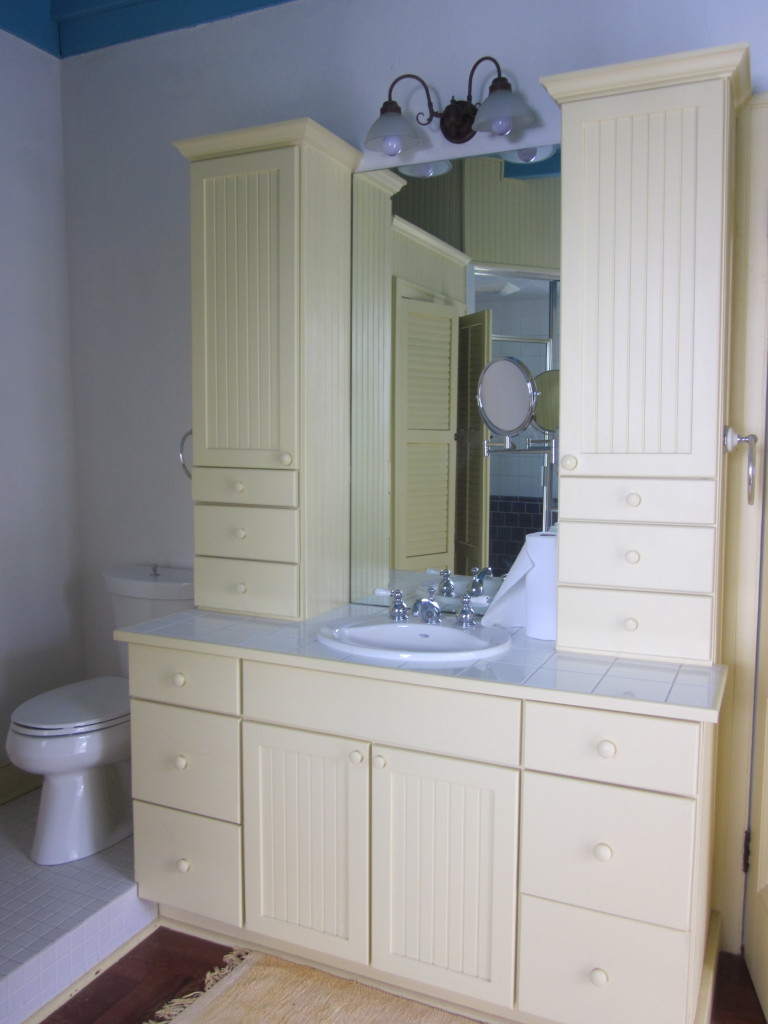
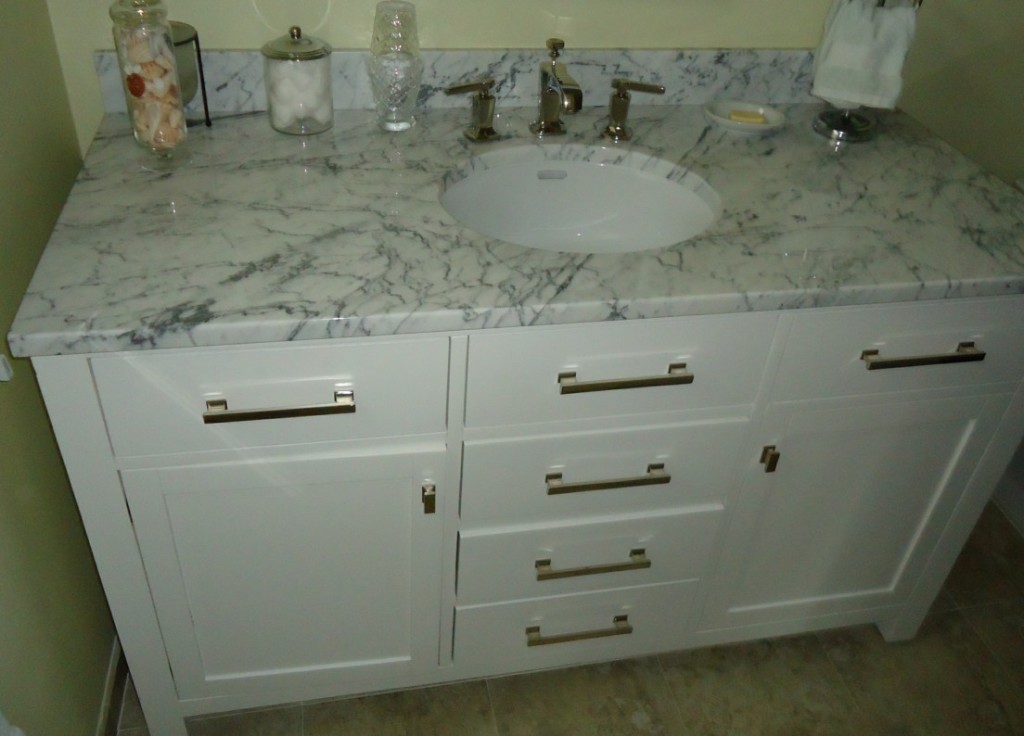
Modern bathroom’s fittings become incomplete if there is no cabinet kept in it. So it’s very easy to understand the usability of cabinets in bathrooms. Cabinet does a well job for keeping different articles in it while expresses additional beauty for a bathroom. But as bathroom’s cabinet is kept inside bathroom where water usage is more, it is prone to water damage. So give your bathroom cabinet a new feel, there’s no better option than painting it. Here we will elucidate how to paint a bathroom cabinet. Just read on.

Essential Supplies for Painting
More or less, all the cabinets’ painting procedure is almost same. So the common types of things that are needed to paint a bathroom cabinet are as follows –
- Screwdriver.
- Painter’s tape.
- Sawhorse.
- Cleaner.
- Tack Cloth.
- Denatured Alcohol.
- Sandpaper.
- Cloth or Newspaper.
- Wood Filler (Putty).
- Putty Knife.
- Primer.
- Foam brush.
- Foam roller.
- Paint Sprayer.
- Latex Paint.
Painting Procedures
To paint your bathroom cabinet, you will have to do some things one by one. Here are the things that should be maintained in order to paint your bathroom cabinet.
Step 1. Wipe The Surface
This is the first step for doing anything with the bathroom cabinet. As the cabinet may have water on it, so it’s better to dry it up with a rag.
Step 2. Remove Doors and Drawers
Generally a cabinet whether it’s for bathroom or for kitchen, it has some doors and drawers to keep things separately. Never think of painting it without removing the doors and the drawers from it. Unscrew from the hinges to remove all the parts from the cabinet. Keep all the hardware such as screws, hinges etc in a safe place so that you won’t have hard time finding those.
Step 3. Mark the Earlier Place
As you will have to place the cabinet after painting in the same place, it’s recommended you mark some lines by measuring it so that you can reinstall properly.
Step 4. Use Some Sawhorses
Usually people don’t go for buying sawhorses for keeping the doors and other things of a cabinet to paint well, but you should give importance in it as properly placed things can be painted well.
Step 5. Wash The Cabinet With Cleaner
Whether the cabinet and the parts are clean or not, you will have to wash that with a good cleaner. You can use TSP by coagulating with water. It’s an effective cleaner. Pour some amount of the cleaner on the surface and rinse it with tack cloth.
Step 6. Sanding and Filling
If you see any pore on the surface of the cabinet, you must fill it with putty. Use a putty knife to plain it after putting and then sand with a 220 grit sandpaper.
Step 7. Use Primer & Seals
Primer is used for painting well. It’s a coated layer that works fine under the main paint. Use primer with a sprayer which we recommend because you can expect the best quality and professional paintings by using a paint sprayer though you have the option to use foam brush or foam roller. After you coat with primer, you will have to leave it up to 24 hours for drying up completely. It may need to use double primer if the 1st one isn’t done well.
Step 8. Paint Perfectly
Now it’s time for painting your bathroom cabinet.The color choice should be taken into account seriously as only the high quality color can guarantee for better longevity. Don’t go for a cheaper one just for saving money. If you go for a cheap, thus for a low quality product, you will need to paint your bathroom cabinet lot sooner. So ultimately the cost and hassle for it will be much more.
Choose a perfect color as per your likeness. Try to see the latex color swatches to have better idea about how the color will look like.
You have some options here for how you will paint. You can paint either with a brush or a paint sprayer. It’s easily understood that a paint sprayer will do painting far more better way than a mere brush. So if you need to give a premium feel and texture to your bathroom cabinet, jump over a paint sprayer.
Put the chosen color in a paint sprayer and spray on the cabinet’s surface properly. Like the primer, you should leave the cabinet for around 24 hours after painting the whole portion. You may need to paint twice if there is any incompleteness.
Make sure that the after painting place where you will keep the cabinet is well-ventilated and dry.
After painting if there’s some amount of paint left, please know how to dispose it for being a good citizen.
Step 9. Attach All the Parts & Reinstall
Some people leave their cabinets up to 2 weeks too before reinstalling. If you have any doubt for the dryness of the cabinet, then you must prolong it for more days.
Once you have become sure about the complete dryness of the painting of your cabinet, you can go for attaching the segregated parts together. Screw the doors’ hinges first with screws tightly, and then join it with the main body of the cabinet.
You can now reinstall it in your bathroom. Take your cabinet to the bathroom where from you brought that. After that, place it in the marked place properly.
For better usability you may open and close the doors and the drawers several times so that these become smooth enough while using.

Image credit: wikimedia.org
Some Health Tips
- Don’t go for painting without a mask.
- Don’t paint in an airtight place.
- Don’t take the cleaner’s and paint’s smell directly for a long time.
- Use a pair of gloves to protect skin sores.
These are the complete outlines on how you can paint your bathroom cabinet yourself. If you follow the guidelines one by one, you could surely be able to paint your bathroom cabinet yourself well. Choose the best ones to avoid any sort of poor work, you will go for the best ones for sure as everybody wants to have the best thing.
