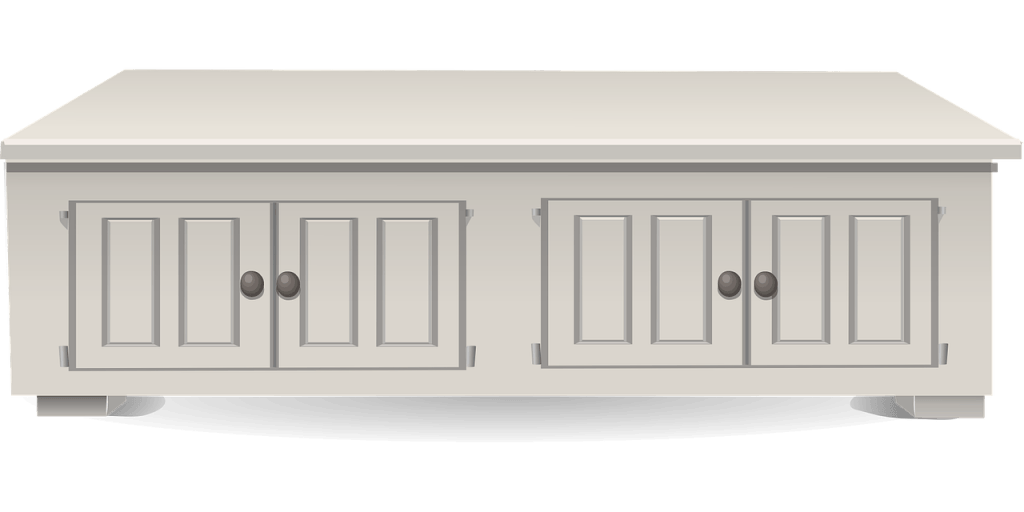
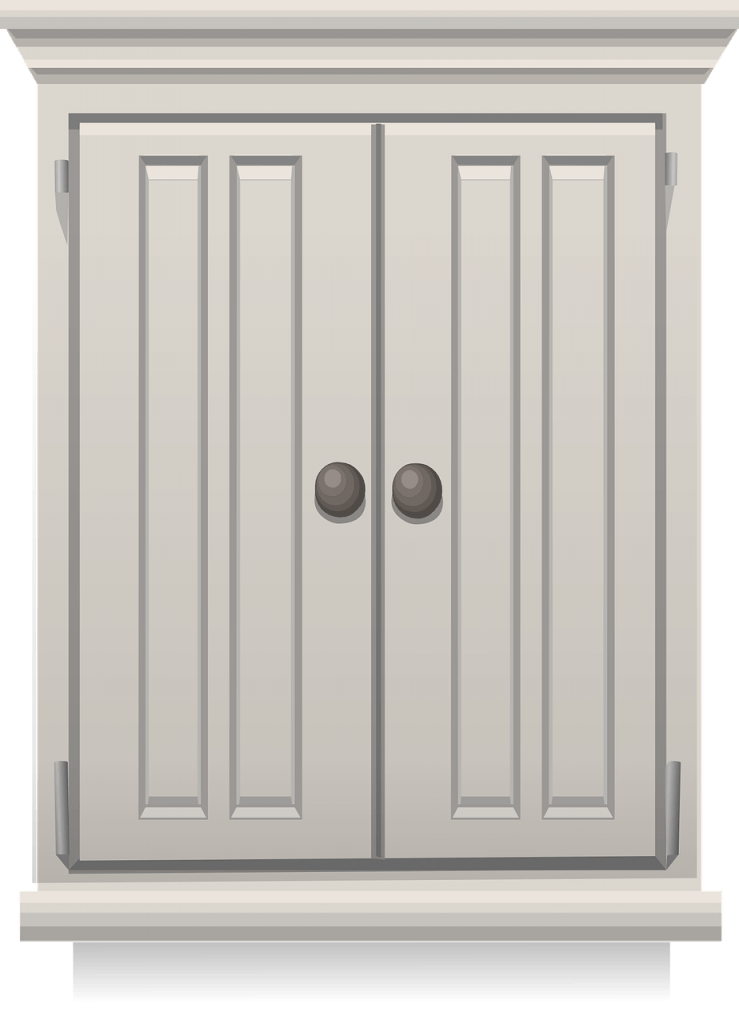
In modern time everyone is going for modular home which brings us close the thing known as cabinets. Cabinets are important and useful as they make us with good storage space plus adds up to the looks of the interior of the home to and avoids the clumsiness. Cabinets are mostly of wood so may sometimes get attacked by termites or may be some chemical or moisture in the air. So for this painting the cabinets are a good move to add more life to your investments on your wooden.

For painting you may think of so many colors to choose from but why not paint the cabinets white as white is a nice color and also will give a fresh new look to your cabinets. But painting the wooden can be fun or be your worst nightmare depending on how you plan to get the job done. In this article we will discuss on how to paint the cabinets in white so that they give a royal look to our cabinets and home. And why to give a whole lot of money to other while you can do the paint job all by yourself.

Steps to Paint
Dismantling
Painting can be easy when you remove and dismantle all the parts of the cabinet and also keep them separate for further use. But while dismantling make sure that you mark all the parts, screws and everything separately as you don’t have any problem at the time of reassembling them.
Cleaning
After the parts are kept separately now it’s time to clean every part and panels so that the paint sticks nicely and the coat is evenly spread all over. You may use a detergent solution, anti grease agents and simple wet cloth to clean the parts up. Make sure that while cleaning you get out all the dust and debris properly.
Peeling
You may be painting for the first time so this step is not for you but those who had already got their cabinets painted in past and are now again looking to paint them they need to peel of the old coat of paint so that the new one can be done with ease. You may use a metal strip or some blunt knife to peel of the paint from the surface of the cabinet without damaging or peeling the wood out. You may also use a wire brush which will make it easier to take off some old paint.
Sanding
After you have peeled of the paint you will see that there is some uneven surface or some extra old paint left so to clear them and make the wooden surface clean and smooth for painting you must use a sand paper. Use a medium grit sand paper to do the smoothening part and also sand the sides and corners of the panels.
After you are done with the sanding again clean the panels and parts as discussed in step 3 and make sure the cleaning is done properly and all the dust and debris are taken off. Now let the panels and parts completely dry before you move any further in the task.
Covering
After sanding process clean the area where you are about to start the work of painting. You may use a sheet of paper or cloth to cover up the flooring or surfaces below the cabinets so that when you start painting the paint doesn’t drops on your floor and make the work of painting more tedious and in the process you do not damage your expensive floorings. Also if you are not looking to detach the door knobs and some of the parts of the cabinet you may cover them too.
Priming
After you got smooth and dry surface on the cabinets it’s time to cover them with a coat of primer. Priming is important as priming not only helps the paint to stick properly but also get your wooden material covered and also protects them from weather changes and also attacks of termites. Take a suitable primer and start coating your cabinets using a brush or a roller and start from the middle and then move outwards.
After you are done coating let the parts of the cabinet dry, now check the parts for any uneven surface or fibers that came out during priming as sometimes during priming the wooden fibers or fragments may come out so they must be sanded off so that the painting is done properly. Now use sandpaper to san off the fibers and then again clean the surfaces with a wet cloth let the parts dry. After they have dried again put a coat of the primer to the cabinet and make sure that it gets dried again before you start painting.
Painting
After the parts have completely dried it’s time to start painting the cabinet with white paint. You may go for a brush or a roller or even spray if you have one, whatever equipment you feel comfortable with and makes your work easy you can choose that. Now take the white paint on a painting tray and then dip you brush or roller in it and start painting the surface with large one sided regular strokes so that the paint is done evenly. Do the work on the smaller parts first and then move on to the bigger parts so that it gets easier for you to finish it quickly and without any confusion. You must also paint the corners and linings of the cabinet panels respectively.
Now after the painting is done let the freshly coated parts to dry for a few hours after they have dried start again and apply another coat of paint on them. This second coat will ensure complete and good coating and will also add gloss and shine to your cabinets plus the paint work will also look great and natural. After the second coat of painting is done let the parts completely dry.
Reassembling
After making sure that all the parts have dried completely it’s time to assemble all the parts of the cabinets like before. You have already marked all the parts respectively so it won’t be a problem to reassemble them this time and surely in no time you are done. Make sure that joints are tightly done to avoid damage to the cabinets.
And there you are with a brand new look to your cabinets in all white.
