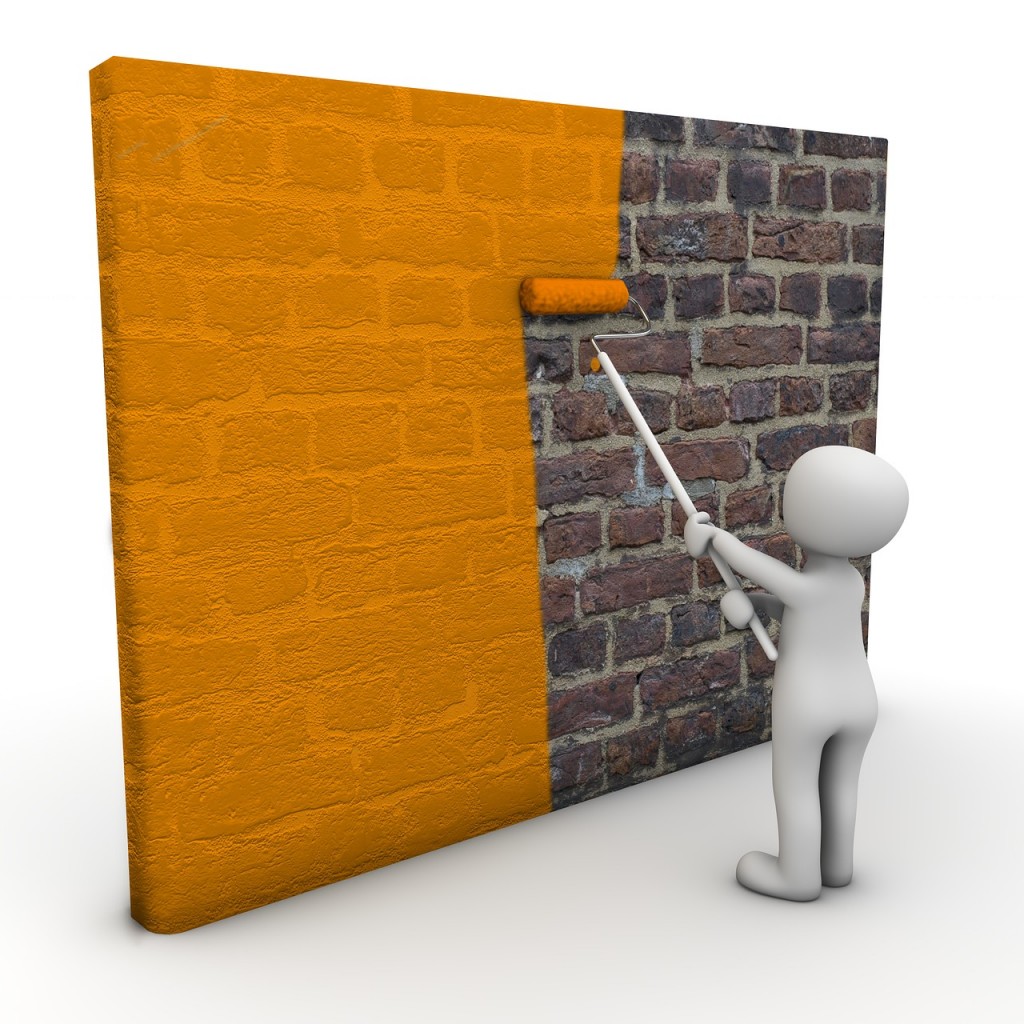
If you are starting a project of painting at your home, decided to change the look of old room, make it appear as a brand new, needs e preliminary information regarding the whole priming process, the following detail may prove helpful to you.

What is Primer:
A primer is under coat, it works as adhesive between paint and painted surface and durability of paint depends upon it. It prepares the walls, ceilings, doors and windows ready for painting.
Primer for Walls and Ceiling:
Plaster needs complete sealing. It is a common myth to cover up the cracks to avoid painting problems. Stains on the walls needs removal, primer meets with filling and binding requirements of the surfaces and covers up the dirty exterior of concrete. It should be a close match with the finishing paint. With its application additional layer of paints are reduced.

Primer for wood
Wood is a porous substance, it absorbs the solvent quickly when paint is applied on it. Paint gets dried prematurely giving a shabby look. Hence application of primer on it is important to fill its grains.
Primer for Plastic:
If you want to change the darker color of plastic to some light color then the use of primer is recommended.
Primer for Metal:
To avoid any rust due to seepage of water and to cover up the uneven surfaces of metal its use is of much significance. Specially designed metal primer is advised for better performance.
Priming Process:
It comprises the following steps
1.Preparatory work
Good preparation is necessary for achieving better end results. The plaster of even newly built houses is seldom found without scrapes, spaces, holes and marks, the minor defects may become more prominent and visible after painting if not redressed earlier and would not be removed after painting. To avoid this imperfection, fill these small holes first by some suitable filler easily available in the market. To fill the bigger hole ,insert some piece of wood with glue after properly cutting by a saw, use plaster of paris to fill up the remaining cavities. Kitchen and bath rooms need your special attention as water is extensively used there; the moist conditions make the paint weaker.
2. Smoothen the Surface
Before starting a paint project, keep it in mind that smooth, and even surfaces yield better results. If painting over the old paint, flaking and weaker paint needs to be stripped off as old paint doesn’t remain sticky. You may use an electric stripper or paint removing blades for this purpose. Masking tapes should be affixed on the edges of window, on the door handles to avoid any paint spots on the glasses, during painting of frame.
Now extensive sanding of entire ceiling, interior & exterior walls, doors window frames is needed to make the surface smooth and regular.
3. Dusting & Cleaning
All the dust should be properly cleaned. Now wash the entire surface with sugar soap or light detergent. Let it dry, fans can facilitate the drying process. Washing will add to the beauty when painting process gets completed.
4. Primer Coats:
When the walls gets dried the primer coat is applied over it. The number of coats depends upon the quality of primer and nature of work. If the color is not being changed one coat of primer with brush or roller will be sufficient to give a nice and pretty look. If you want to change darker color with lighter one, you may need 2 coats. It can be assessed according to requirements.
