Laminate is a thin layer of board which gives a perfect look when it is used on other things. Usually it is layered on other cheap wood so that the complete look gets a premium looking. Making cabinets, the use of laminate is huge, and now many of the cabinets both for kitchen and bathroom are layered with laminated plates. Like other materials, laminate is prone to damage over time. When a laminate is used as the outer surface of something, it is the main thing that becomes dull mostly. To give a new look to a laminate cabinet, you can paint to do so. These article is dedicated to the learning of painting a laminated cabinet.
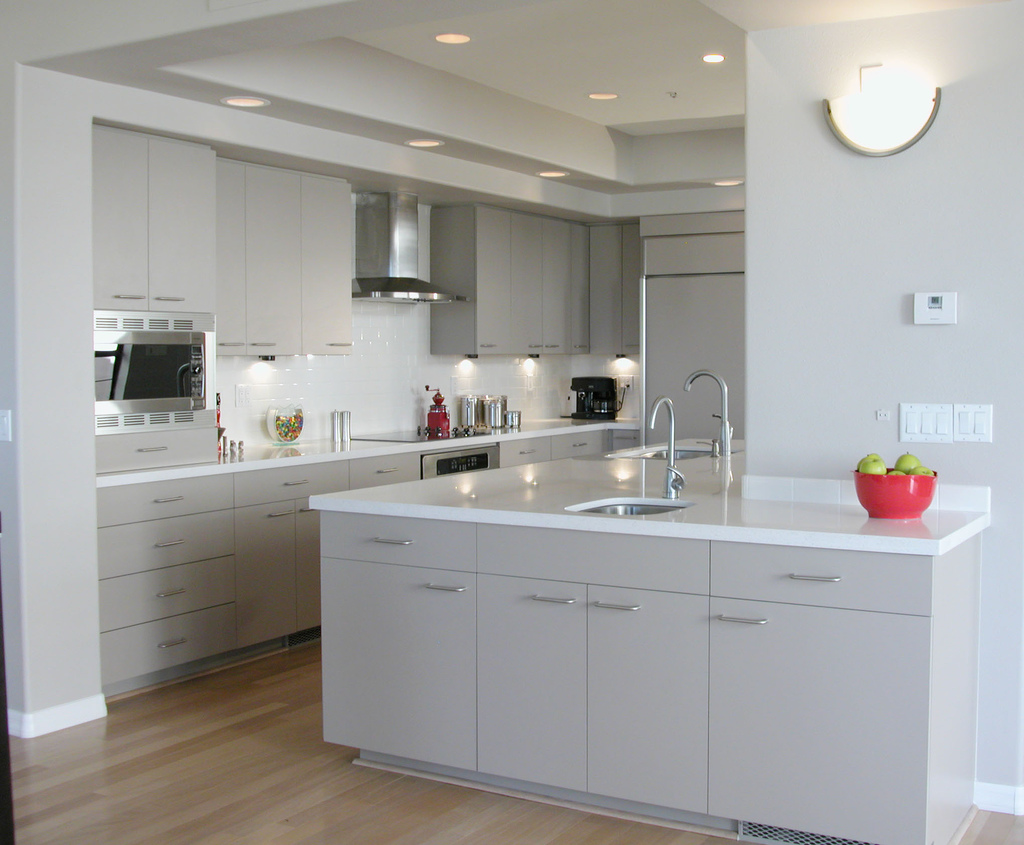
Image Source: www.flickr.com with “reuse right”
Something to Know About Laminate
As you have already known that laminate is not a real wood. It is used as a fake wood to express premium feel. Generally wood is more costly and if you need to make a cabinet full of quality wood like oak or anything else, you will have to spend more. If laminate is used on a cheaper wood, then the ultimate look becomes perfect and at the same time, the cost goes down.
How to Paint Laminate Cabinet?
Though laminate and wood are two different things, the painting process is quite similar with the exception for some things. As the laminate does not have any pore like oak or other types of wood, it does not need any putty or wood filler, and neither does the putty knife. So you can eliminate these 2 items from the painting list.
The Required Supplies For Laminate Paining
- Screwdriver.
- Painter’s tape.
- Sawhorse.
- Cleaner.
- Tack Cloth.
- Denatured Alcohol.
- Sandpaper.
- Cloth or Newspaper.
- Primer.
- Foam brush.
- Foam roller.
- Paint Sprayer.
- Latex Paint.
Go for Painting
The following steps will have to be maintained in order for having a perfect paint on your laminate cabinet.
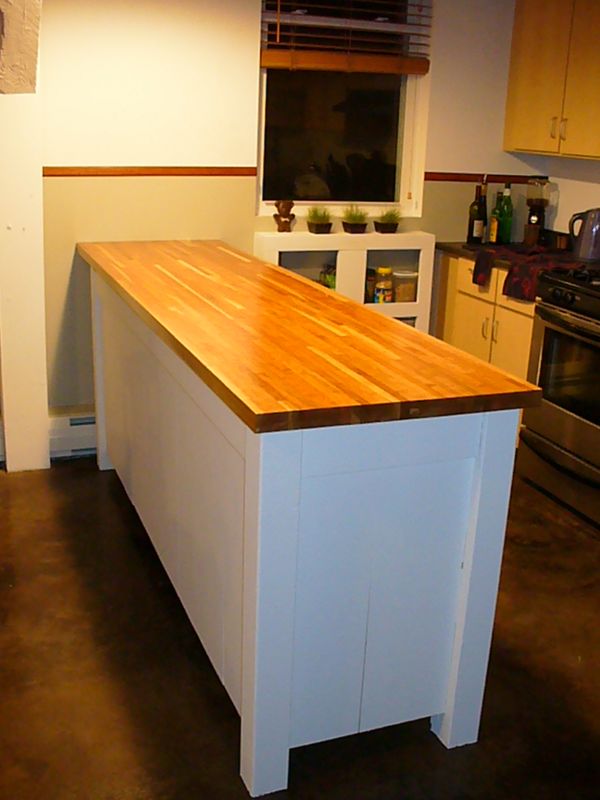
Image Source: www.flickr.com with “reuse right”
Step 1. Segregate The Parts
To paint a thing well, it is required to isolate each of the parts so that the color goes properly into all the portions. A cabinet is not different. So first of all, unscrew all the screws with a screw driver from the hinges to remove the doors and the drawers from the cabinet. For not losing a single screw and other hardware, you must keep these in a safe place by packaging in a packet.
If you see that the hinges or other hardware have been damaged badly, then these might need to be changed. For changing all the things, always take the hardware to a hardware shop. it is done to match all the hardware perfectly with 100% accuracy. If the size or measurement of the new hardware becomes different from the previous one, then the adjustment of the cabinet will no be perfect.
Step 2. Mark the Placement Well
Use tape for measuring the exact location of the cabinet as to replace it perfectly. As when you will start painting, the cabinet will have to be taken to a different place than its original one. After proper marking of the old placement, you can move it to the place where you will paint it.
Step 3. Use Some Sawhorses
Sawhorses are very helpful in painting things properly. It is mostly seen in the furniture manufacturing shop, but you can also buy one and keep it inside your garage or other store. As you will not have to buy it again and again, you should have one for recurring use without spending a single penny.
Take the cabinet’s main frame along with other parts such as the doors and the drawers on the sawhorses. Always use cloth or paper (newspaper will also do) under the edges of the cabinet’s parts which touch the ground. It is done to leave these friction free with the ground.
Step 4. Clean The Laminate’s Surface Well
For cleaning purpose, denatured alcohol is a good choice. You have to be careful about the choking hazard with this cleaning material as this has very toxic flavors and can cause brain’s cells damage, so you must use a mask on your face and use the cleaning as well a painting process in a well-ventilated place. Well ventilation will dilute the smell of both the denatured alcohol as well as the painting’s color.
Step 5. Sand Gently, But No Need to Use Wood Filler
Here is a difference for painting laminate cabinet as it does not need to be filled with wood filler because laminate is plastic and dies not have pores in it. In addition, you should use 120 grit sandpaper instead of 220 in case of sanding on laminate. Sand gently until it becomes completely smooth.
Step 6. Prime on The Surface
Now you will have to prime the laminate surface with a good primer. You may need to prime twice on the same surface, but make sure that there is 24 hours interval between each primer.
You can prime with –
- A Foam brush or,
- A Foam roller or,
- A Paint sprayer.
But if you would like to have the best result for the paintings, then priming with a paint sprayer is the best option out there. It will cost obviously more, but the result will be far more better.
If you prime with a foam brush or a foam roller, then you will have to use several of them as these will be damaged within a very short time.
Spray the primer coat on the surface of the laminate. Keep it dry for 24 hours. After drying up, see whether the laminate needs more primer or not. If it is needed, then coat again and leave for another 24 hours until it dries up completely.
Step 7. Start Painting With The main Color
After accomplishing primer, you will now have to paint your laminate cabinet with your desired color. Like primer, you can also have options for which tool you will use for painting Such as painting brush or paint sprayer. As you want to have the best quality, choose paint sprayer as the painting tool.
Hold the paint sprayer properly onto the laminate surface and spray properly. You must wear a face mask while using paint sprayer. Color is made of different chemicals which are very harmful for our health, so be aware of that.
After one coating on the surface of the cabinet, see if it is needed another coating. Go for another coating if it is needed, unless no need to do twice. After properly pained. leave it for dry.
Step 8. Attach All the Parts & Reinstall
Once the cabinet has become completely dry, attach the different parts and take it to the marked place as to fit as it was earlier.
Follow the steps to have a better painting experience on laminate cabinet.